A box of “warm white” LED Christmas lights I bought at Target for $7.00. There were 62 individual bulbs in the box, so the cost was just over 11¢ each. Not a bad price considering everything.
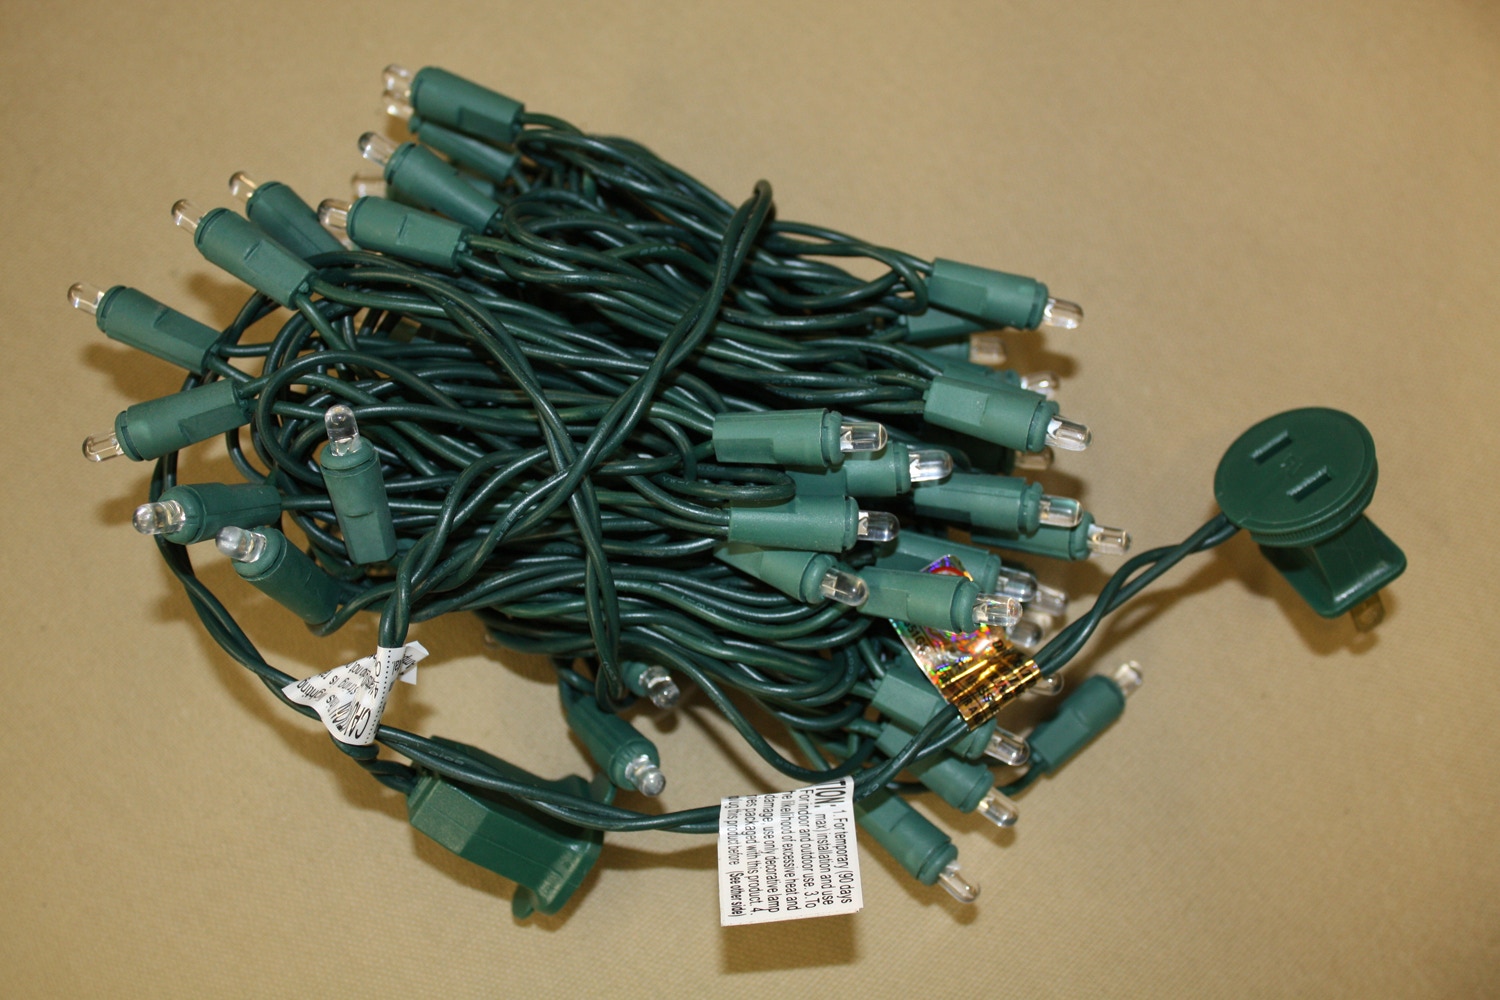
The LED Christmas lights as they come out of the box.
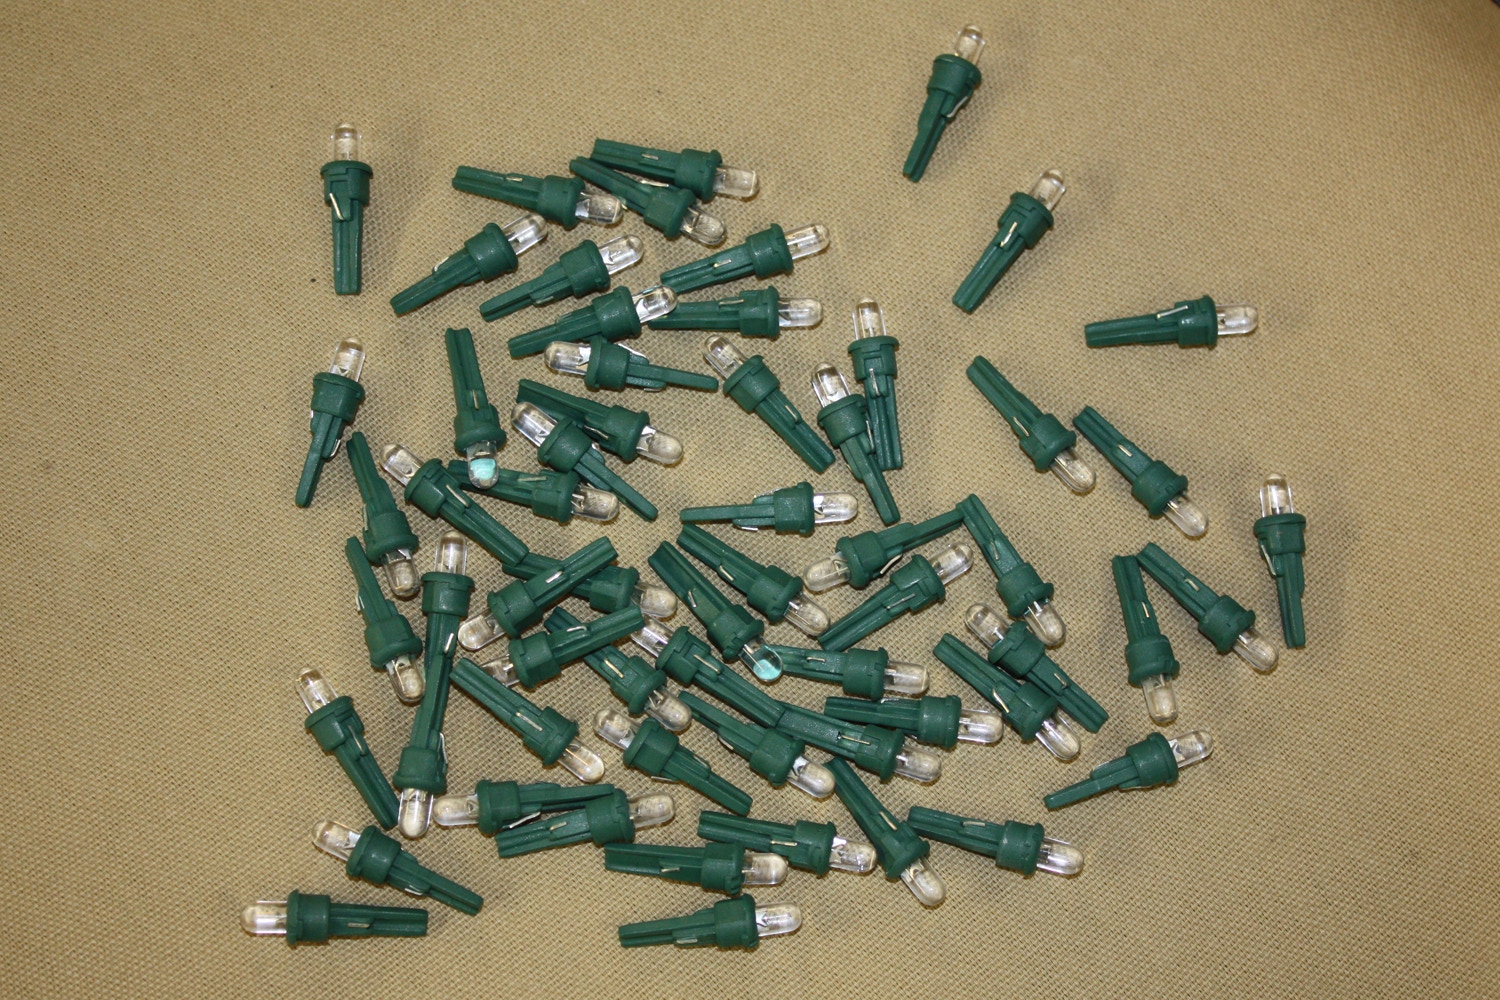
62 LED’s and their sockets once removed from the wires. These are a standard 5mm (T 1 3/4) size, although they lack the lower “lip” around the bottom.
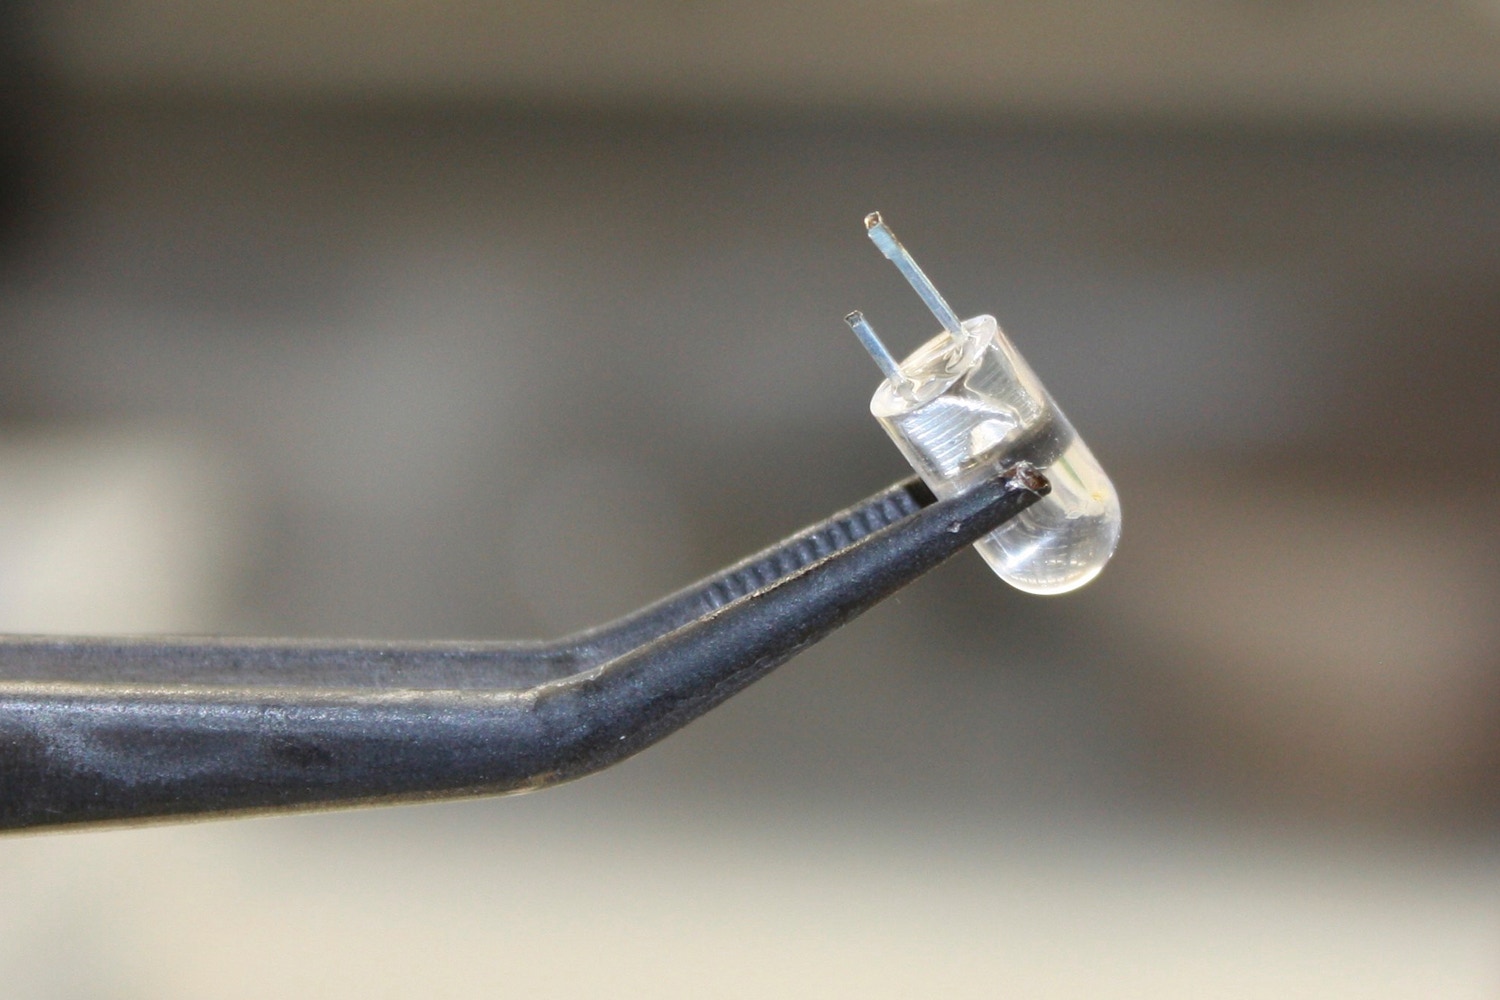
Here I’ve removed the LED’s from their sockets. I find 5mm LED’s work better than 3mm LED’s since there is more material between the lead frame and the tip. This give you more options when installing, particularly if you need a longer bulb.
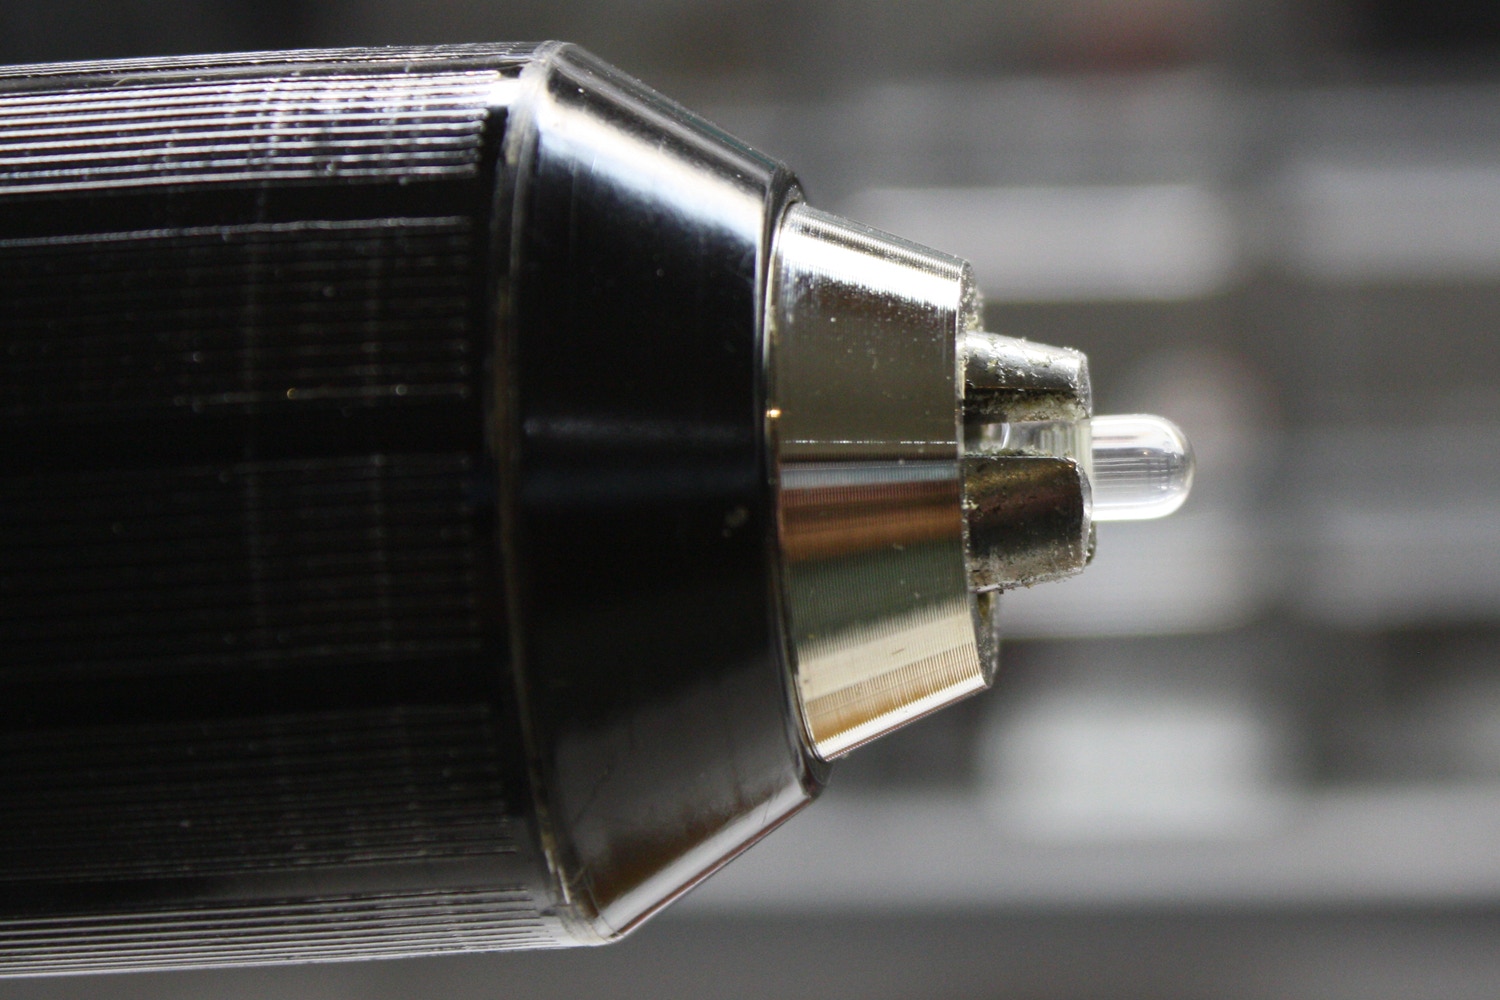
The LED on the left is from the Christmas lights, the one on the right is a standard bulb. You can see the missing “lip” around the one on the left- this comes in handy during the next step of the process.
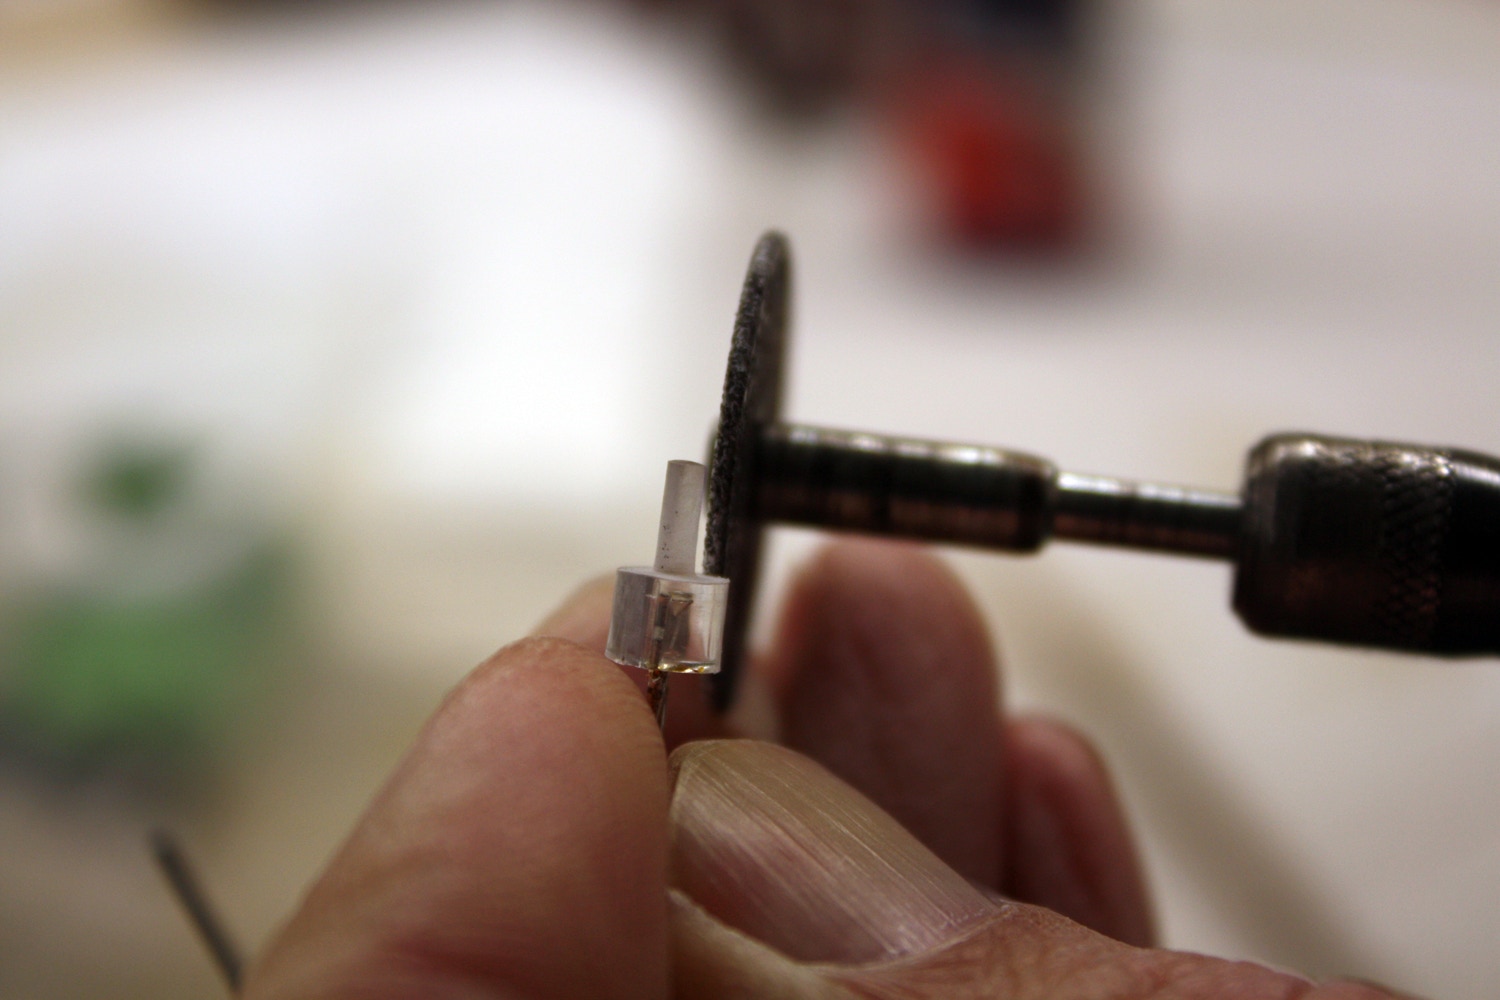
Here I’ve trimmed the anode and cathode down to allow for easier insertion of the LED into my drill for machining.
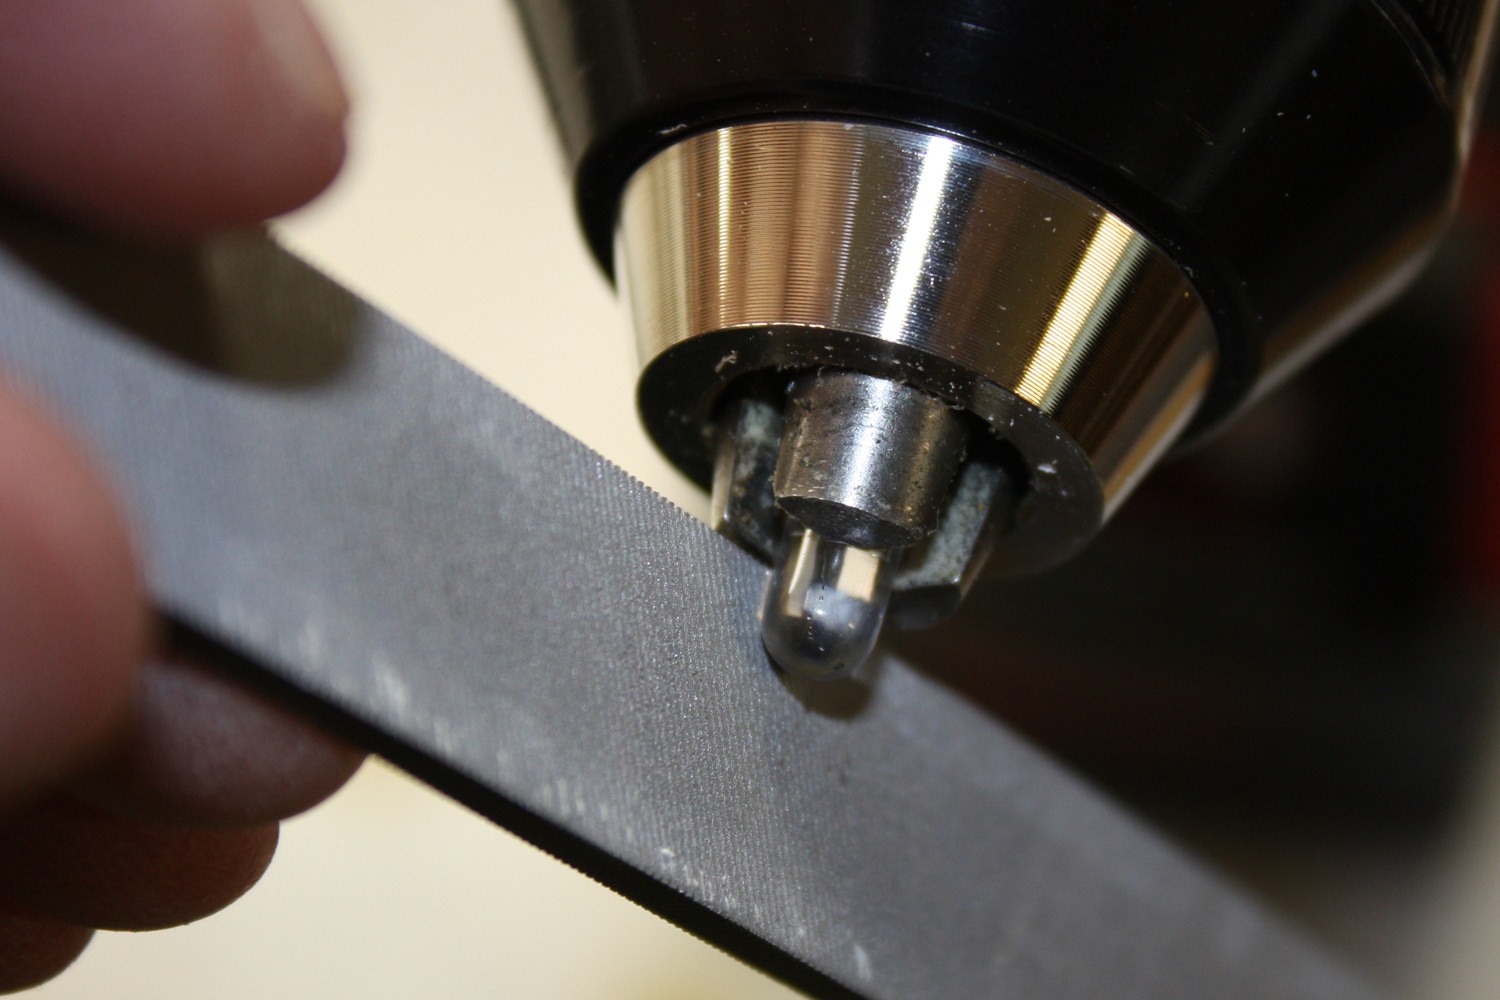
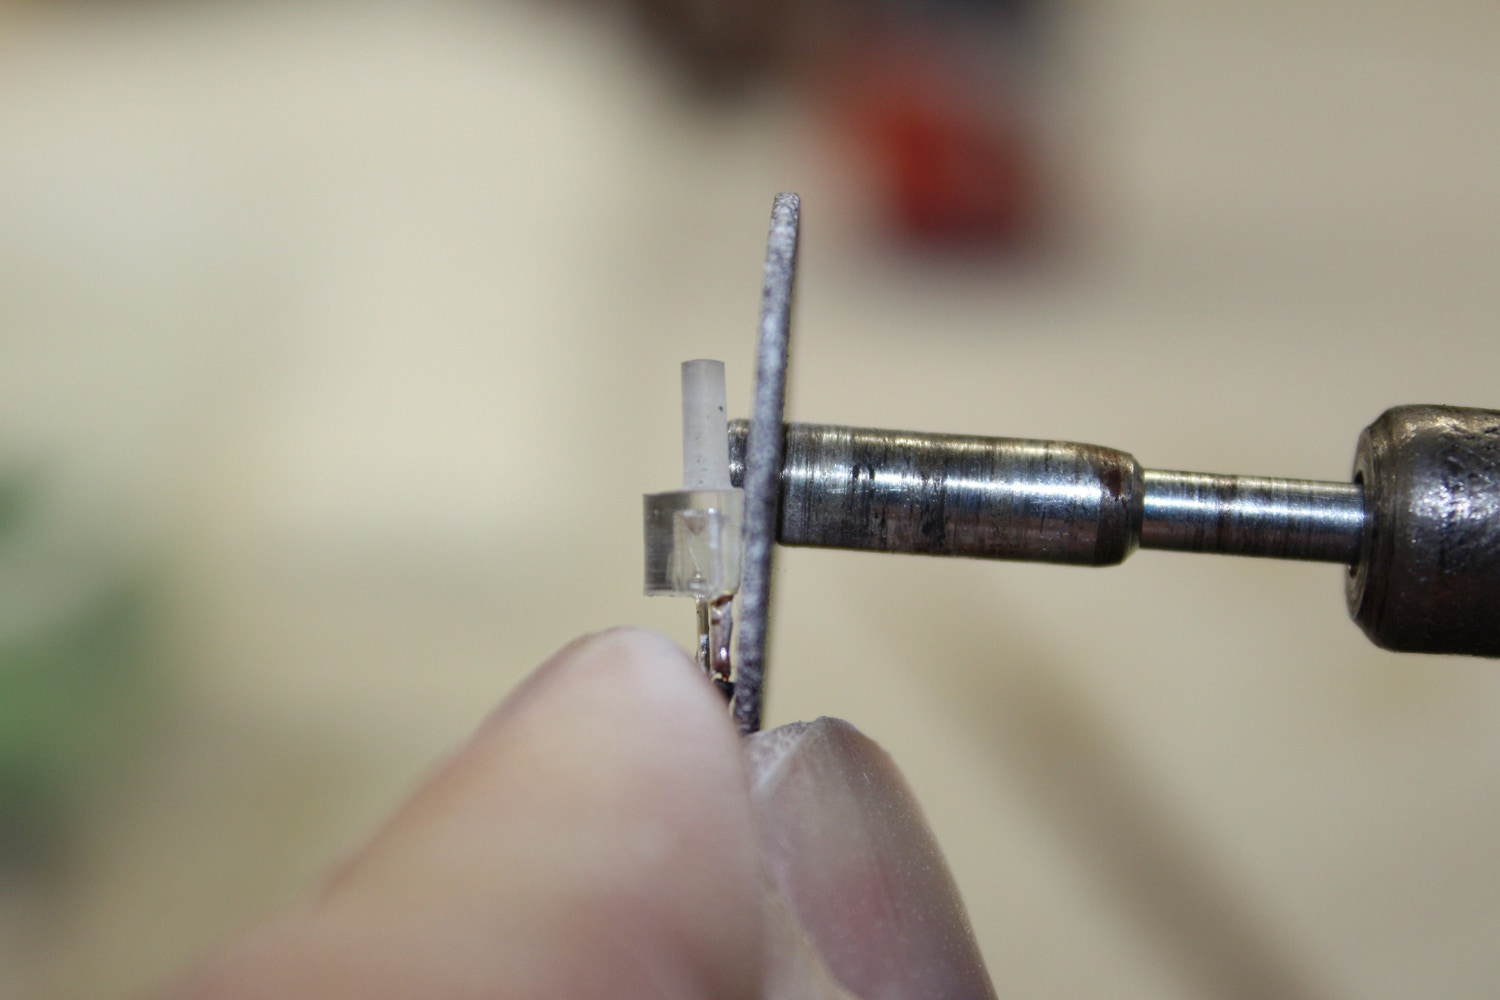
The LED has been set in the chuck of my cordless drill. I know it’s not very elegant, but it gets the job done. Of course this would be a much easier job with a mini-lathe, but for the cost of one I could buy several lifetimes worth of LEDs.
It’s somewhat hard to see, but make sure that the leadframe (the part inside the LED that produces the light) is set far enough back that it doesn’t protrude beyond the jaws of the chuck. You don’t want to be able to see it.
I start my drill running and move a file back and forth to removing material. You need to use firm pressure, but not too much or you’ll break the LED off.
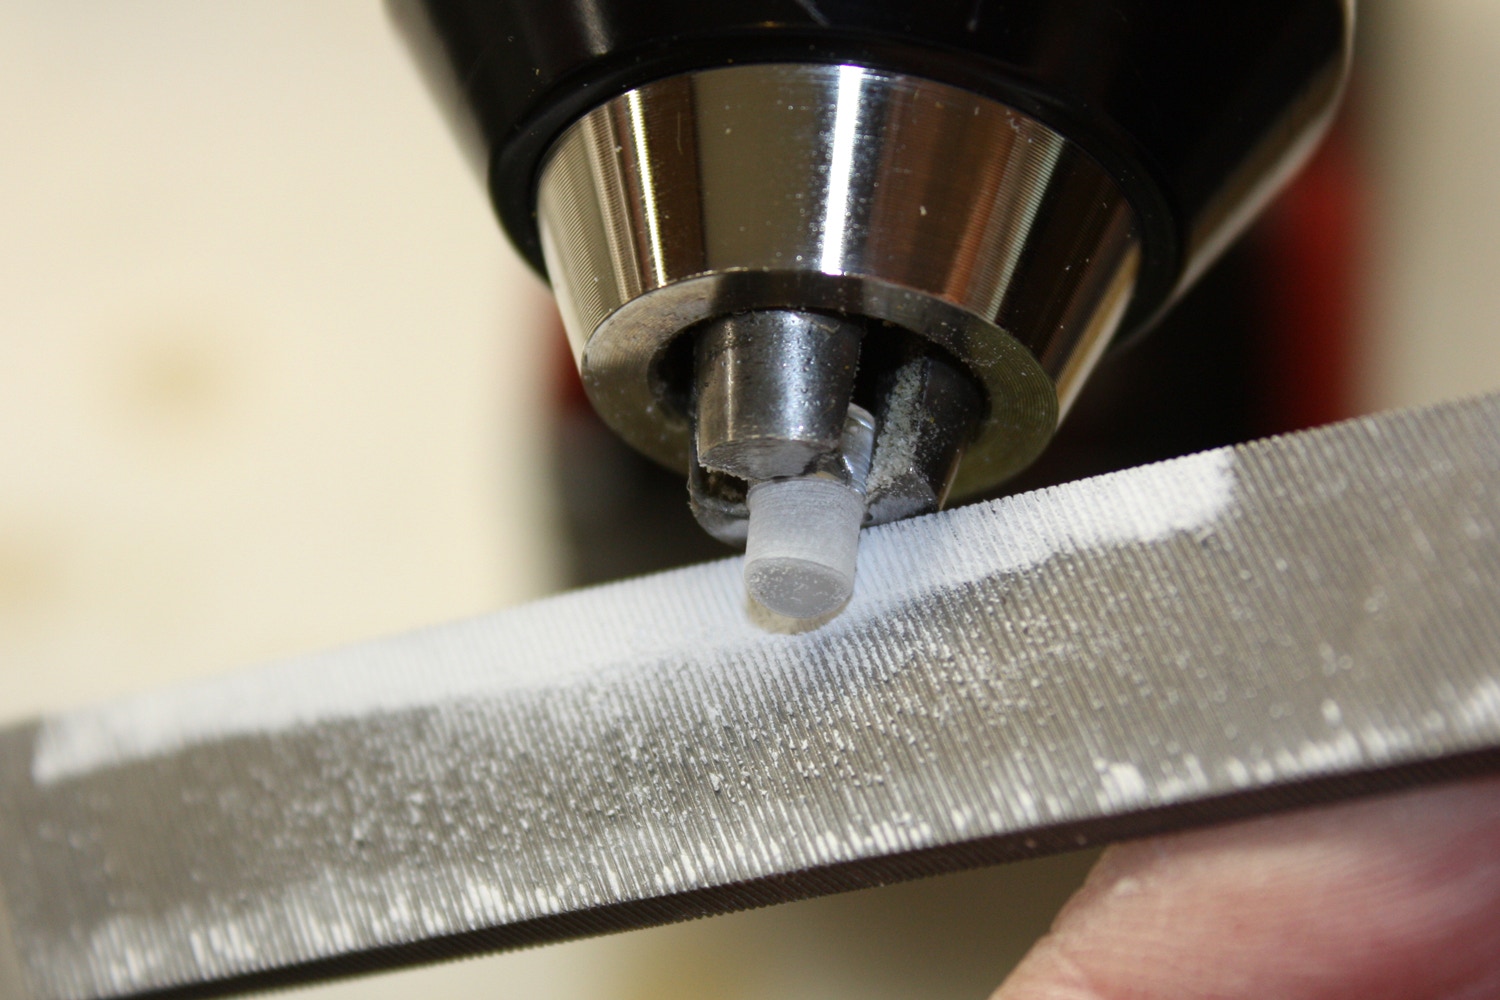
As the process moves forward, you’ll start to generate a lot of white dust. Be sure to keep the file at a 90º angle to the face of the chuck and parallel to the LED.
After a bit of work on the file, the LED lens is getting thinner. Be extra careful at this point not to push too hard with your file or you’ll snap the LED in half.
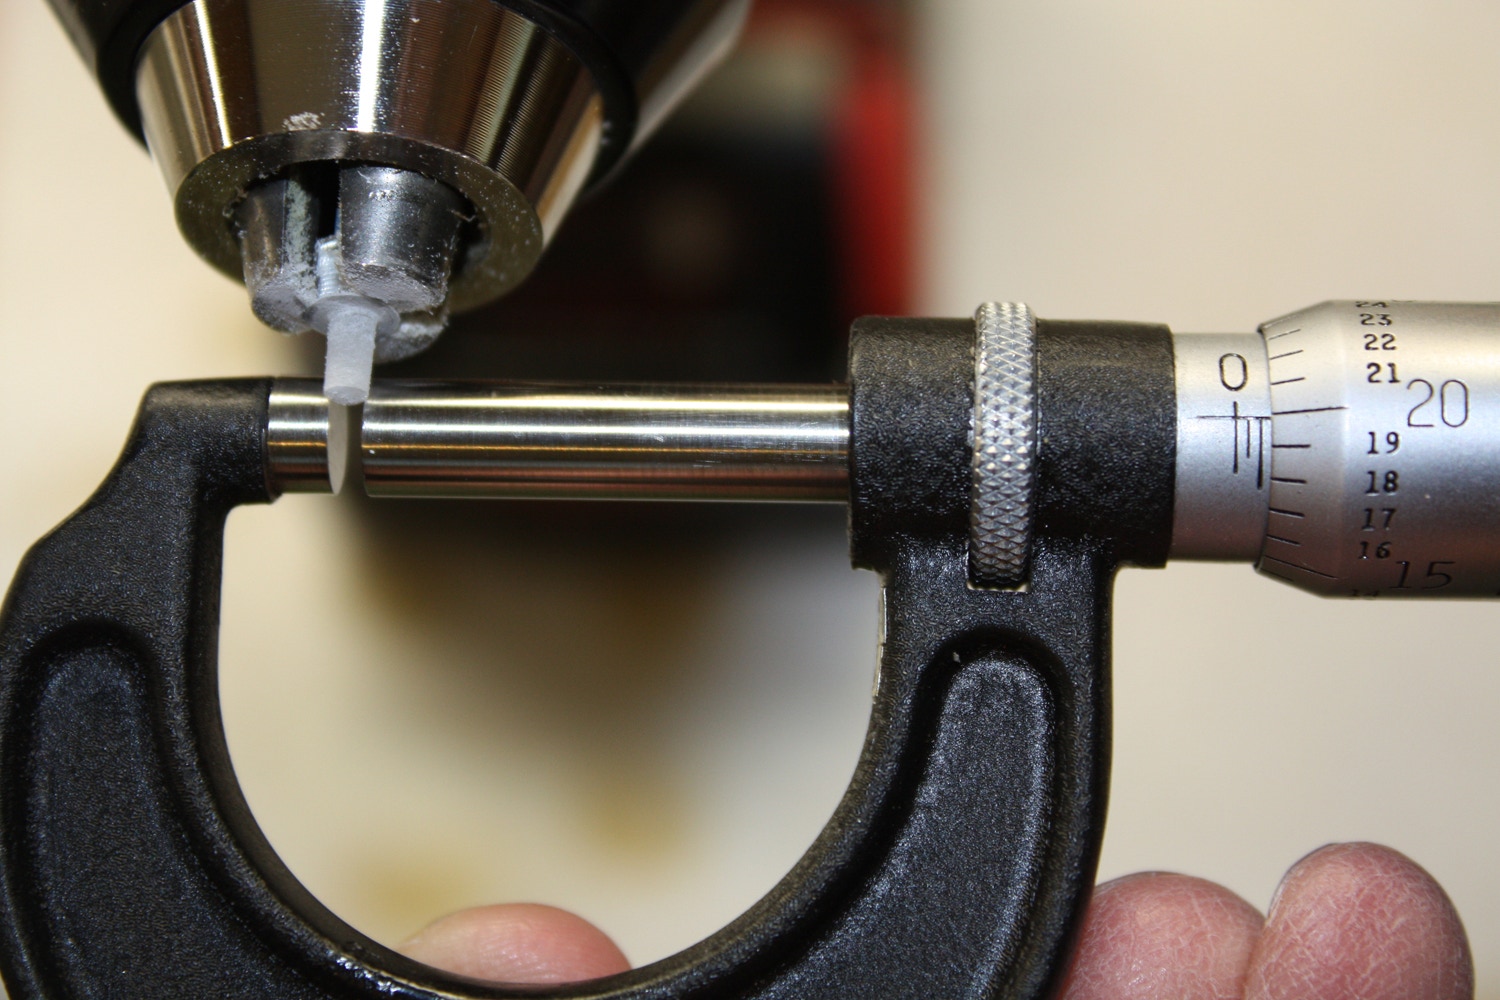
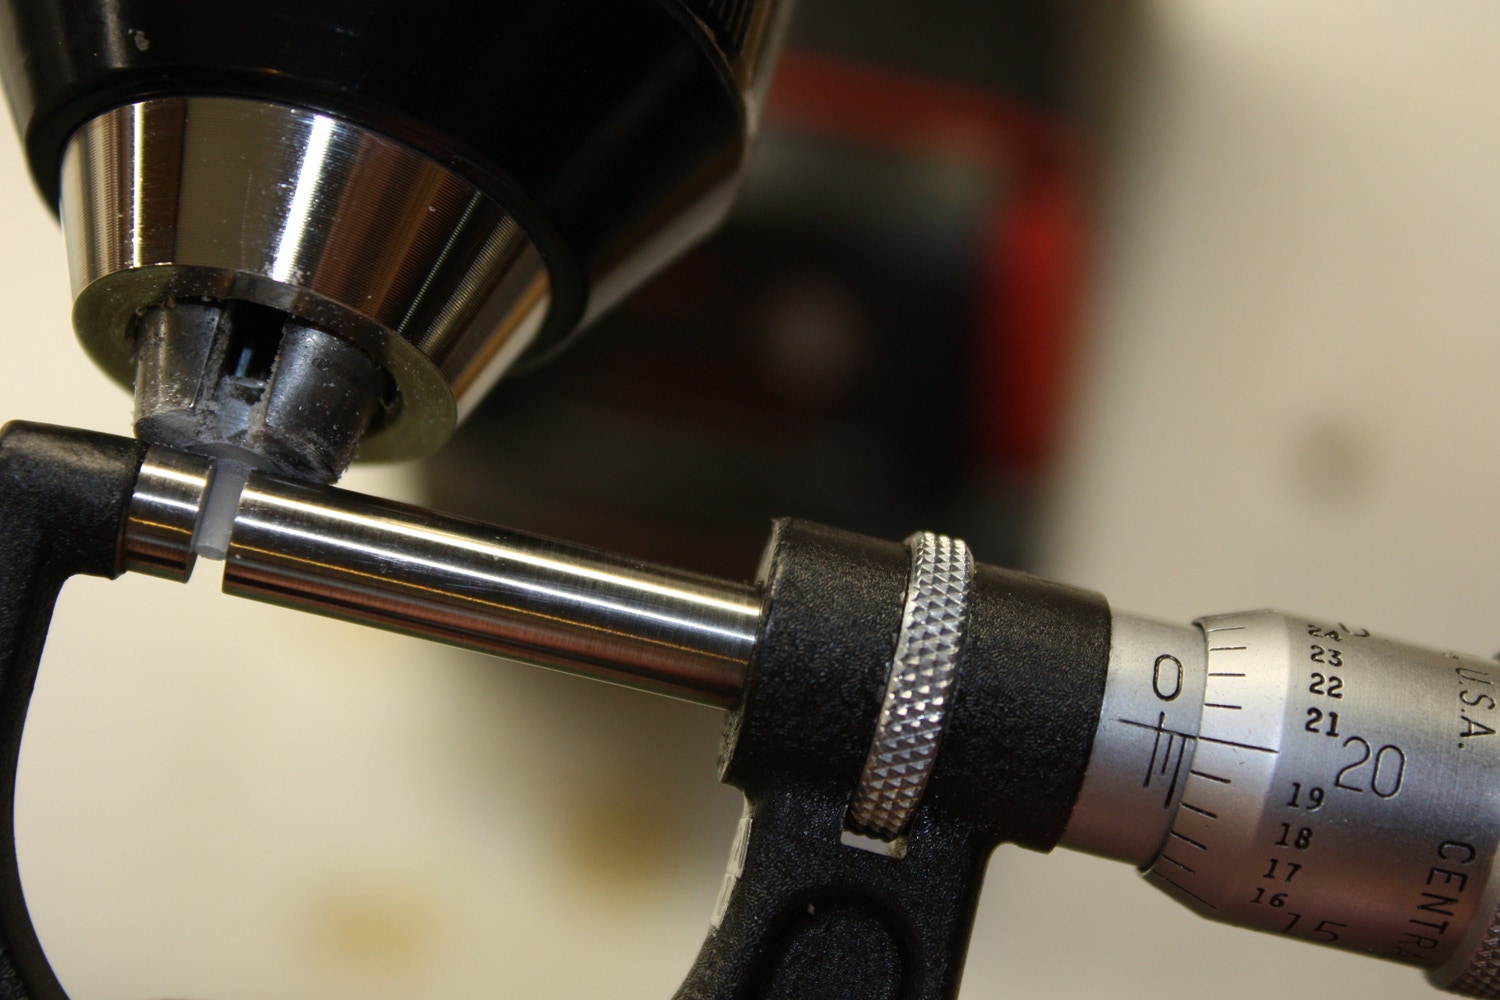
When you think you’re getting close, start checking the size of the LED lens. For this application I’m shooting for 0.070 of an inch, which is equivalent to a #50 drill bit.
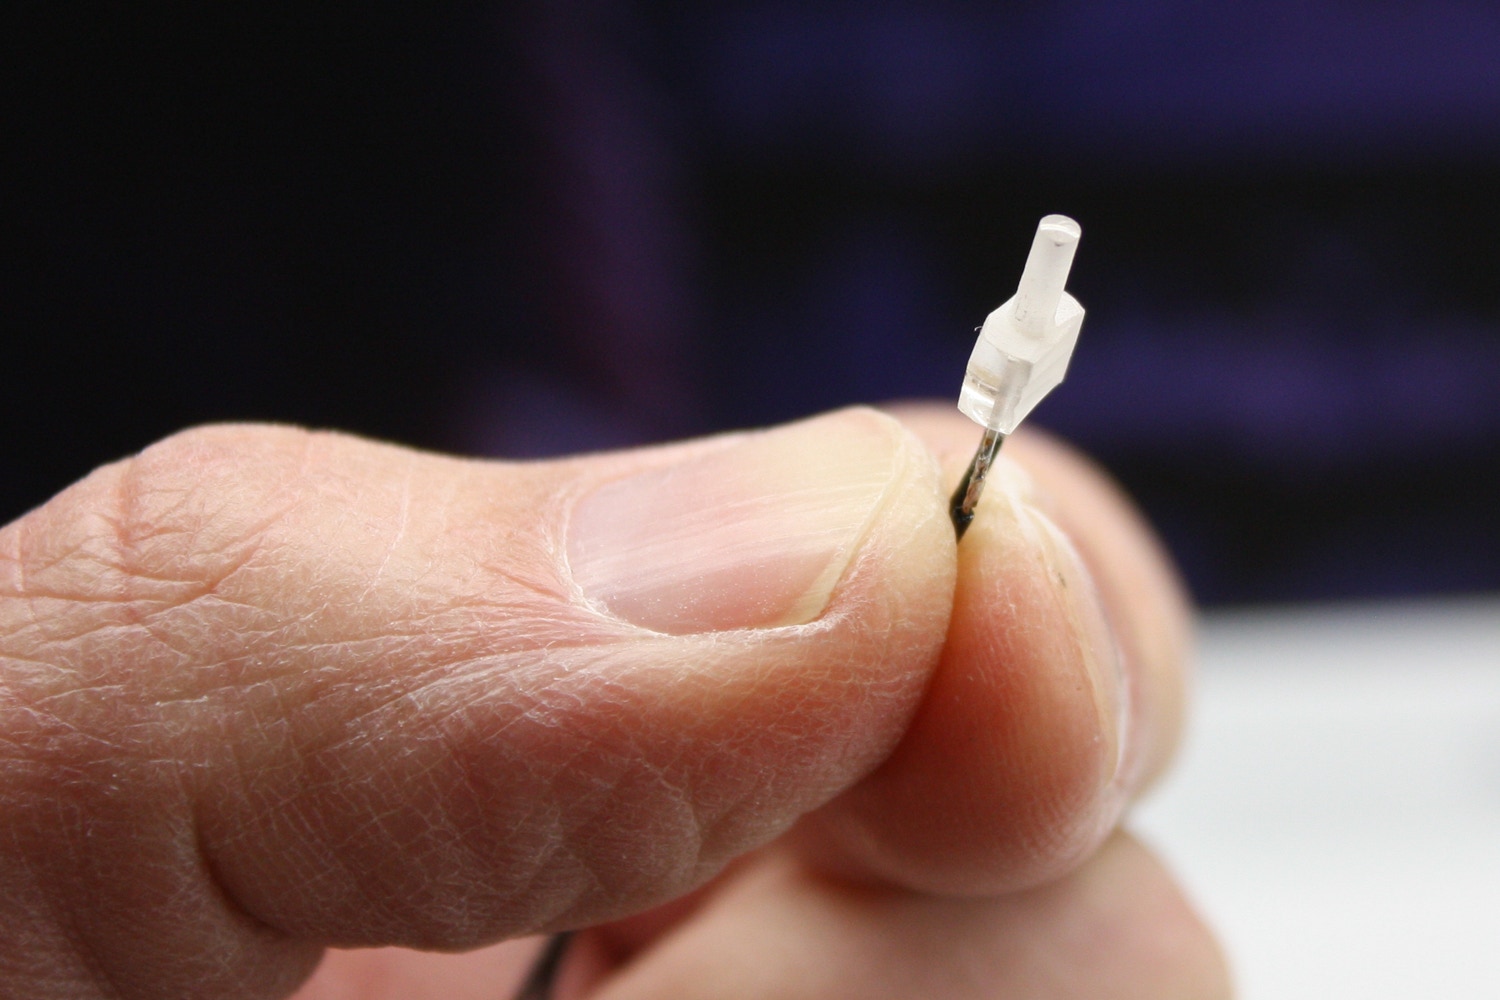
The LED has finally been machined down to size. You’ll find that not all engines have the same sized openings for headlights. I’ve seen models range from 1.5mm to 1.8mm, so be sure to check.
A reduced LED. It’s still plenty bright and will fit snuggly into the existing headlight opening if you need a single bulb headlight you could be done, but more work is needed for a double headlight.
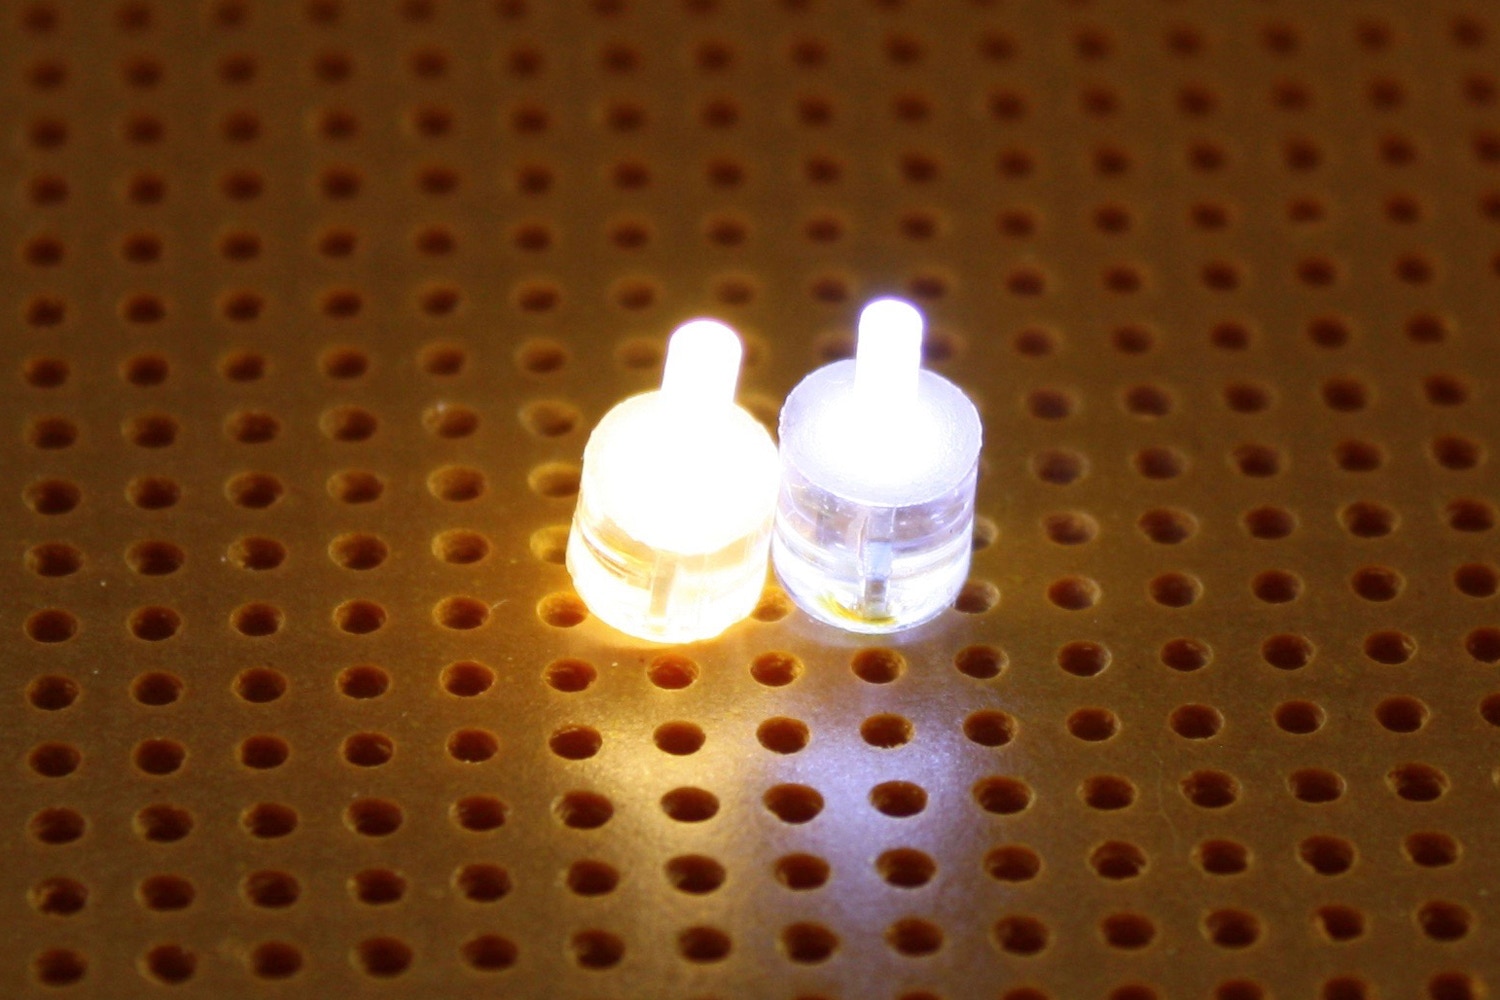
A side by side of a warm white and a cool white LED. Your choice of which to use will vary depending on application and personal preference.
In order to fit two lights side-by-side, it is necessary to remove material from the base of the LED. For this I use my trusty Dremel tool with a cut-off wheel.
As with turning the LEDs down, there are probably better tools out there to reduce the size of the lamp, but I’d rather use what I’ve got.
Once both sides are smoothed off, you can fit two LEDs side by side. If you are careful, you can actually get the width down until it’s almost the same as the light pipe.
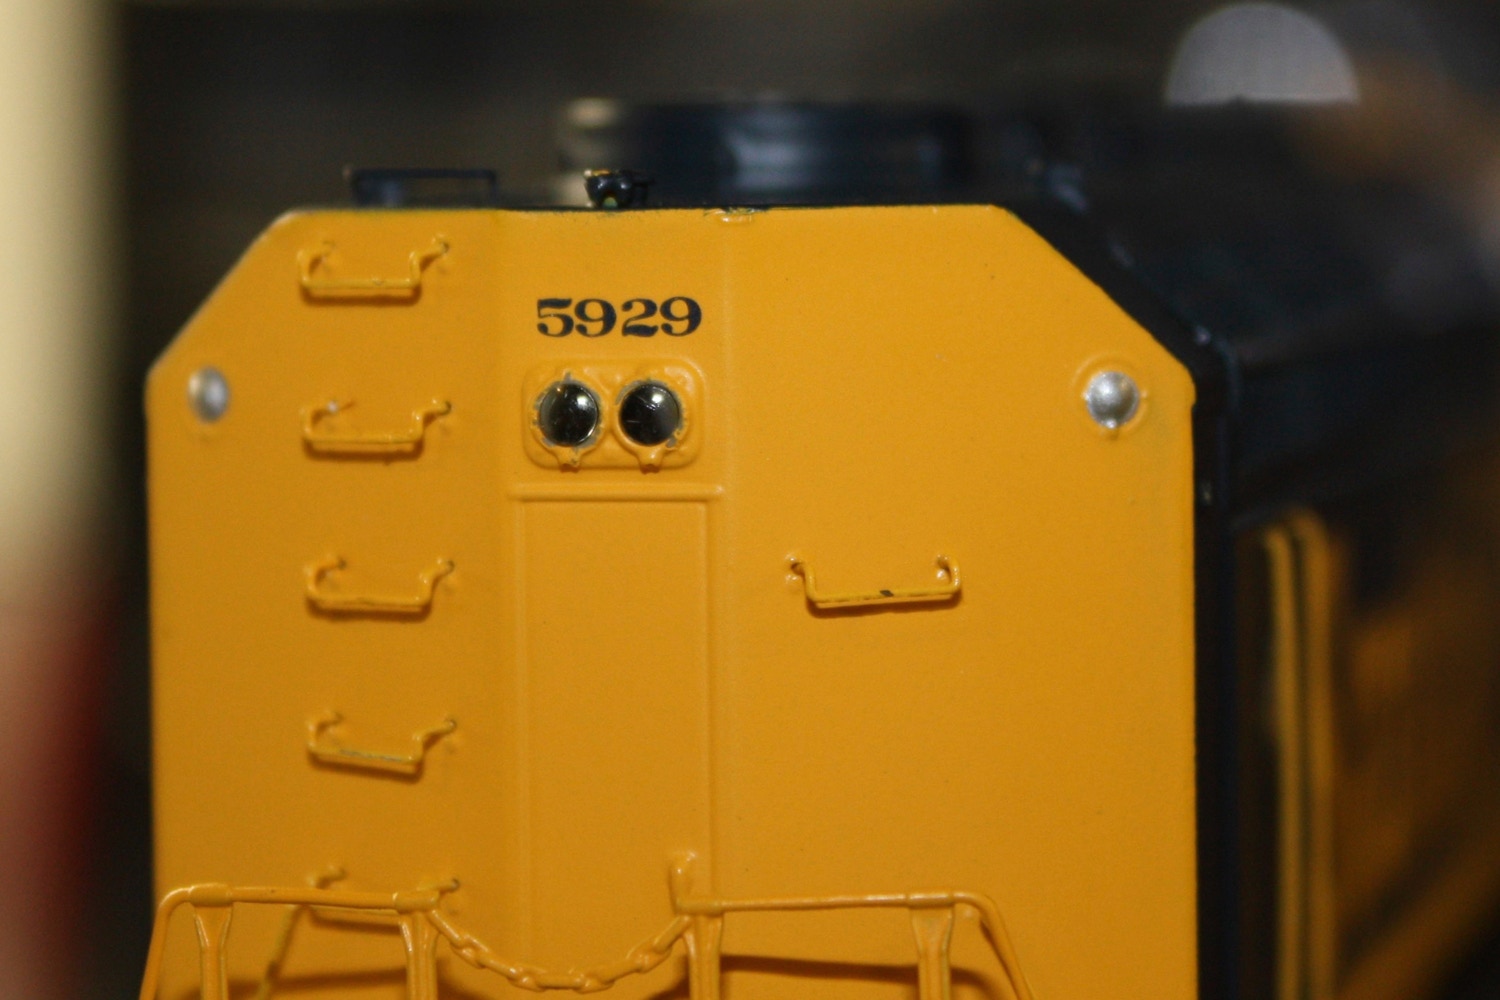
A double headlight installation on the rear of an Athearn Genesis F45. This is a big improvement over the original undersized and short-lived incandescent bulb.
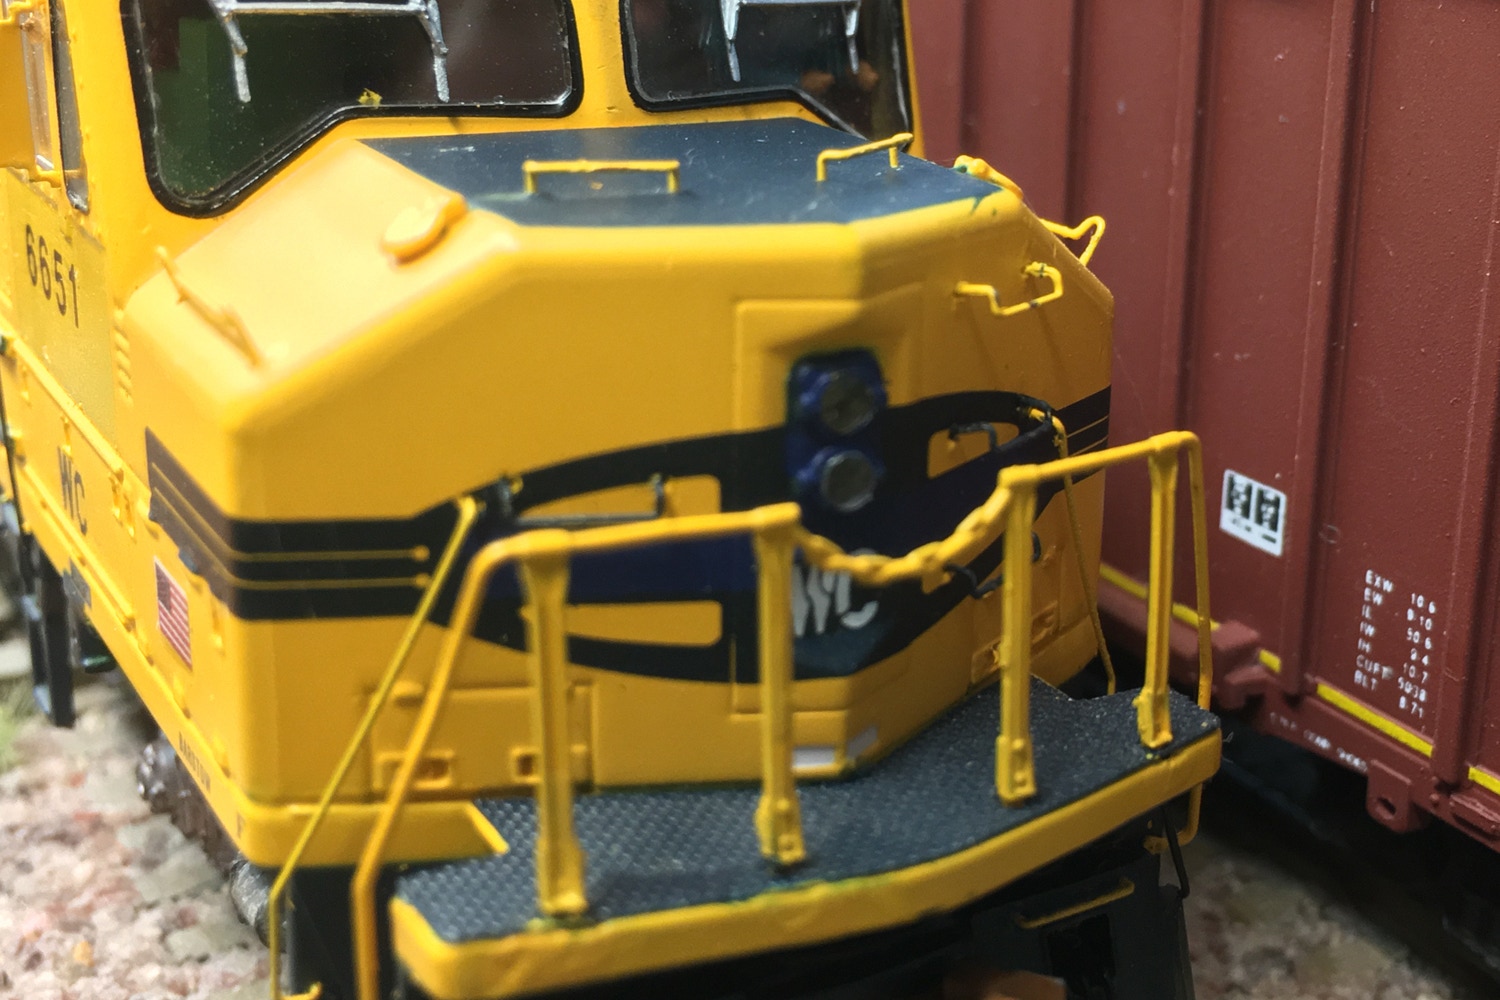
Here I’ve installed a double LEDs in the cab opening on my F45. The light fits snuggly, but can still be removed if necessary.
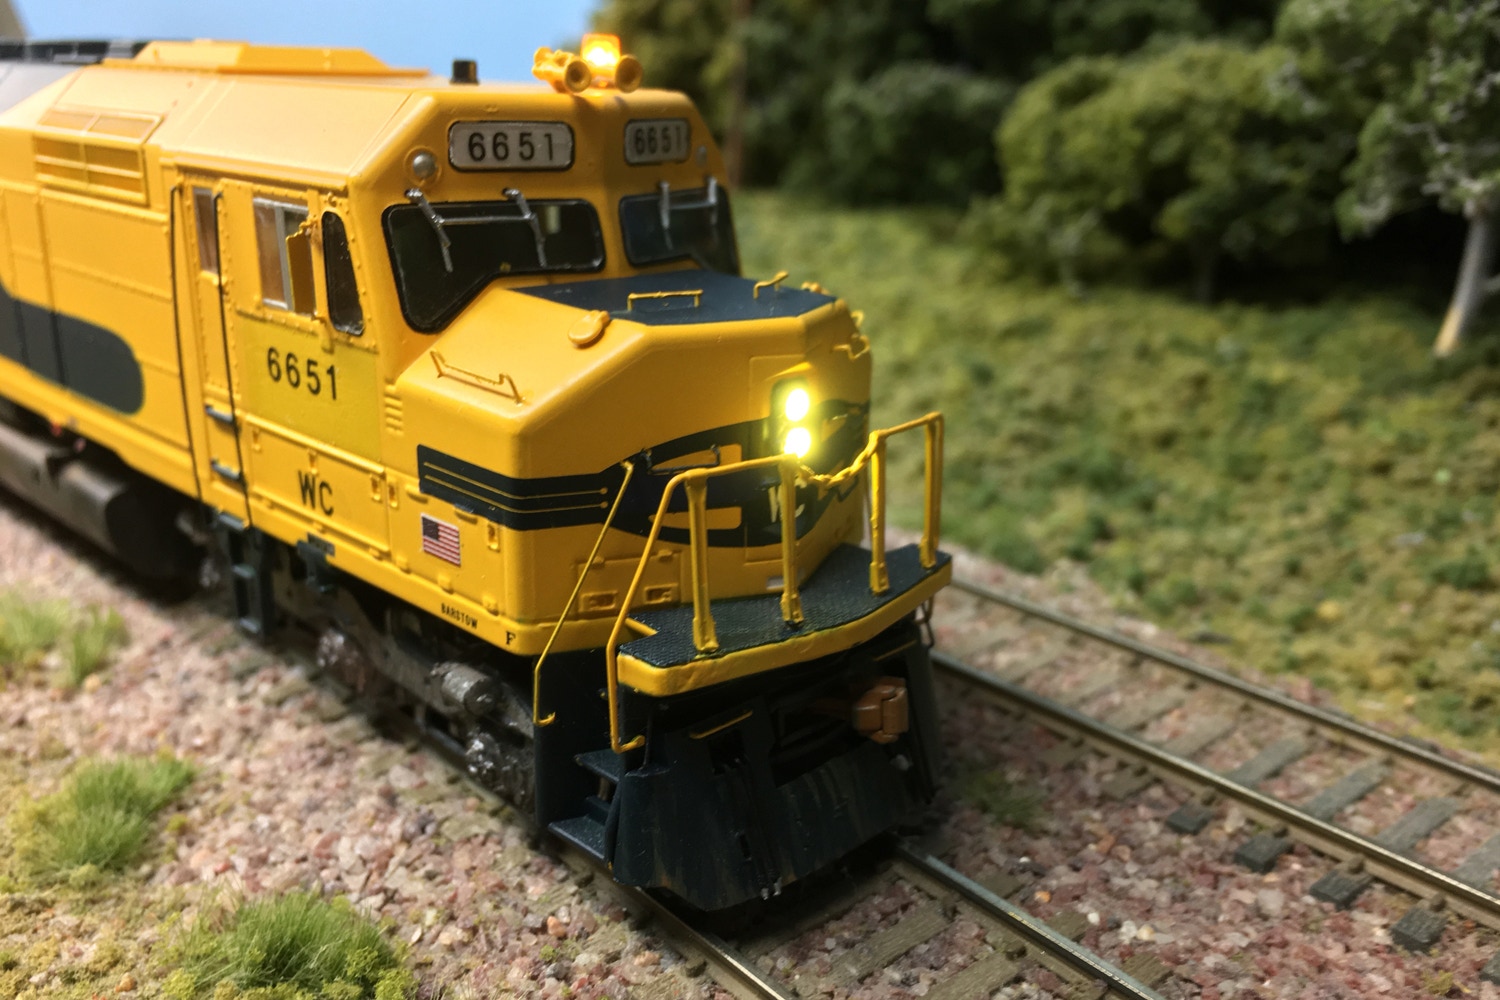
The new LED headlights in action. they are plenty bright, run cool and won’t burn out anytime soon.